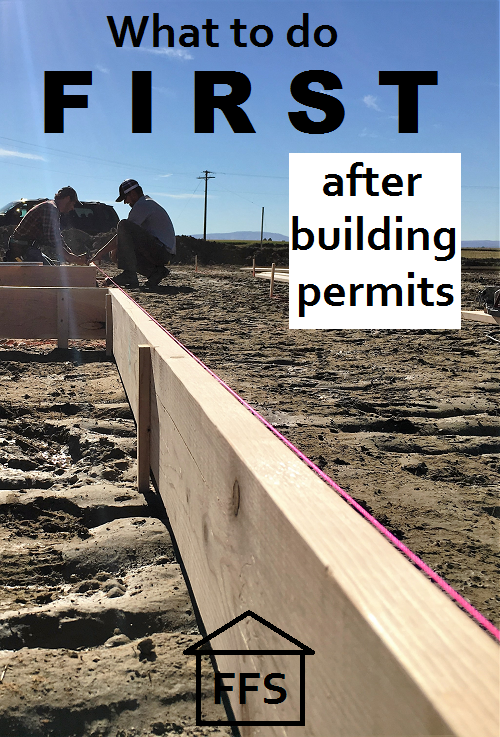
So you made it through building permits huh? You made it through the worst part if you ask me. It’s time to start working on some things that are slightly more fun than paperwork and bills.
Either during the process of building permits, or at the end when you go to pick them up, or both, you will probably be given some instructions for things you need to take care of before moving forward. We were given different assignments and requests throughout most of the process. Many of those things are very common, and I am assuming you will have to deal with at least a few of them. Let’s start at the beginning….
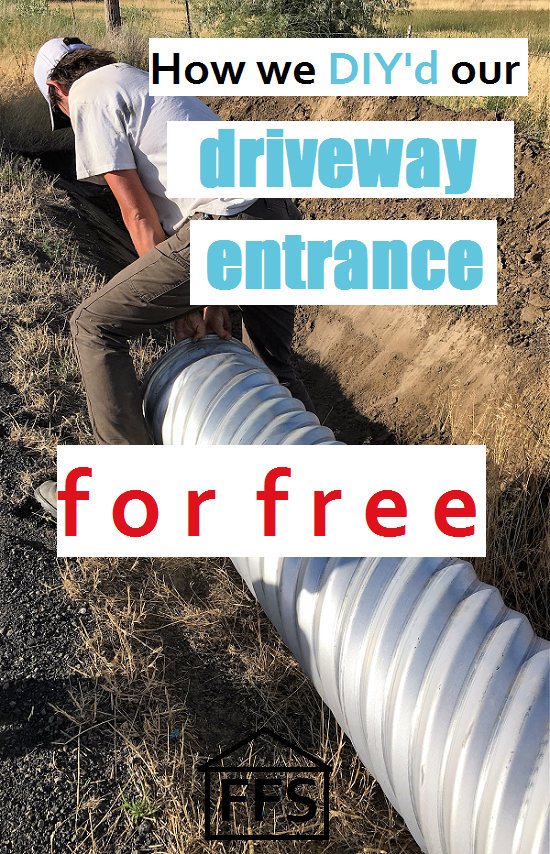
The very first permit we had to get was an approach permit. This is the one that allows us to access our property from the road. The guy at the county office looked at a map of our site, with measurements to all the nearby roads, houses, turns, canals, speed limits, etc. His job is to determine if it is safe to slow down and enter our driveway where we want to put it. He was fast and very helpful, and within just a couple of days we had an email and a letter in the mail telling us our driveway entrance was approved. He did give us an assignment though.
Our assignment was to bury a 12″ galvanized metal culvert at the entrance of our driveway. Not a big deal, just something that has to be done so the water can run through.
Living on a farm comes in handy a lot, and it has been no different since we started building our house. One piece of farm equipment that has been super valuable is Farmer’s loader tractor. In this case, it made this project free and simple. If we didn’t have a tractor with a bucket, we would have had to hire someone to come dig it for us, or get to work digging with shovels.
We also needed to find a 20′ x 12″ culvert. I looked them up real quick on google and found they run anywhere from $200-$1000. Then Farmer had a great idea. He called the local water district and asked them if they had any laying around not being used. These guys are good friends of ours and we purchase our irrigation water through them. Turns out they had a 15″ pipe laying out back that we could have if we come get it. We called the guy from the county to make sure a 15″ pipe would work. He said yes, as long as we cover it with at least 6 inches of dirt for support. No prob, we have plenty of dirt on this farm!
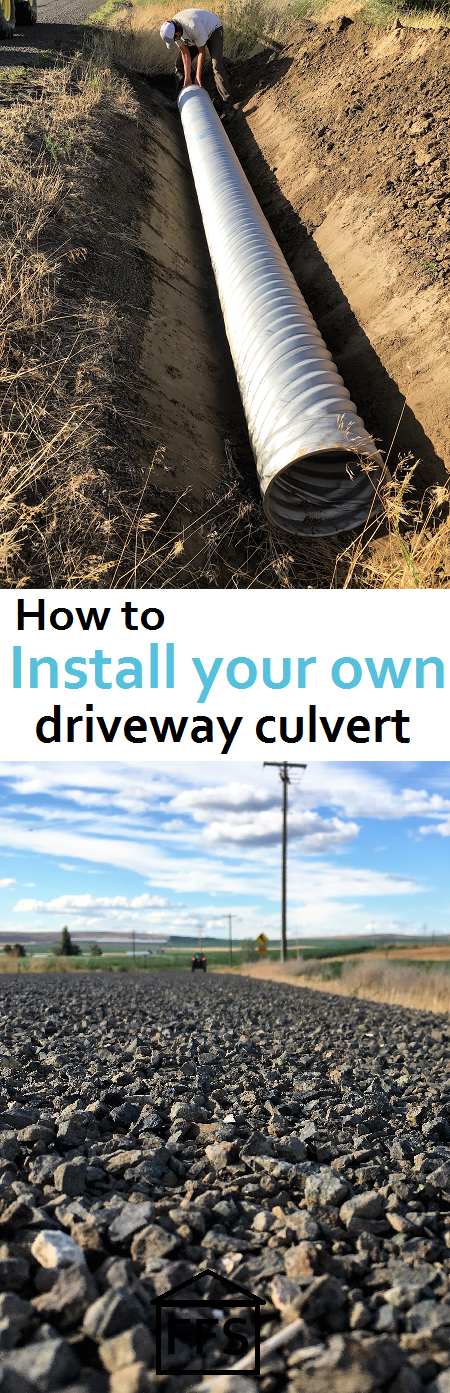
Super valuable farm item #2 is a flat bed trailer. Farmer hooked up the trailer after work and headed on over to the water district to pick up our pipe. Then a few days later he drove his loader tractor down there and started digging. If you have access to some kind of excavation or digging machinery, this job is about as simple as it gets. Worst case scenario, grab a shovel and a teenage kid to dig it for you. All Farmer did was dig a trench across where we wanted our driveway entrance to be. It doesn’t have to be pretty, it’s just going to be covered up.
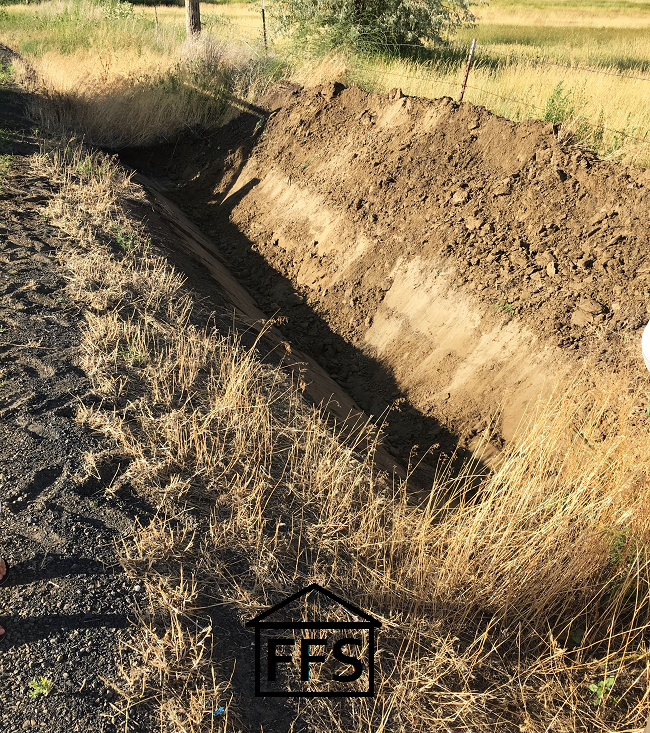
He used a level to make sure it was tilting the right direction. If your culvert is tilting against the hill instead of with the hill, it’s going to stop the water rather than let it run through. Just observe where the water will be running (downhill guys) and make sure the culvert is level or tilting the right direction so the water can run right through it. You also need to make sure it’s sitting low enough to cover with dirt.
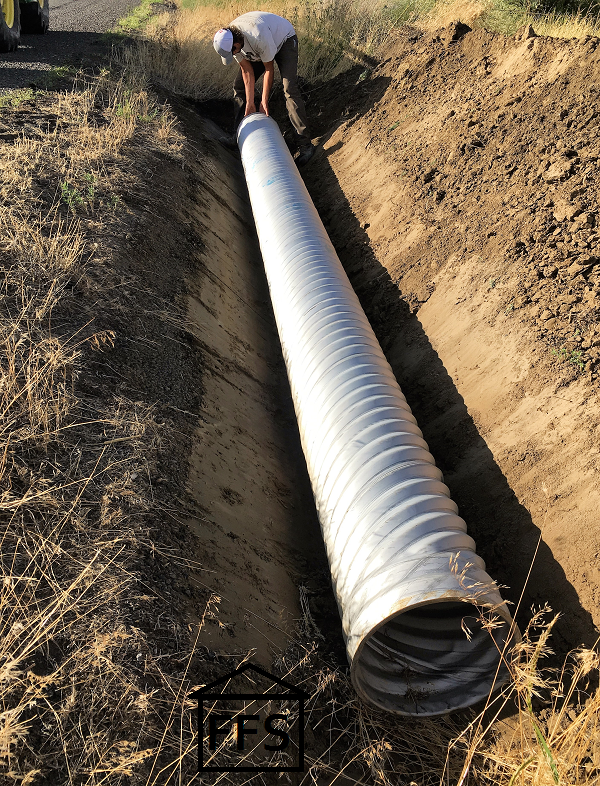
Once you have it in the right spot, it’s level or tilting the right direction, and it’s sitting low enough to cover with dirt, you can start backfilling. Cover it with at least 6″ of dirt to give it some cushion, and leave a couple inches of pipe sticking out of the dirt on each end. You don’t want the dirt falling off the edges and getting in the opening of the pipe. Got it!
Because we had the equipment and we were willing to ask someone if they had an extra culvert, this project cost us $0.
Total amount saved: $200 for the metal culvert and $200 for the excavation job = $400
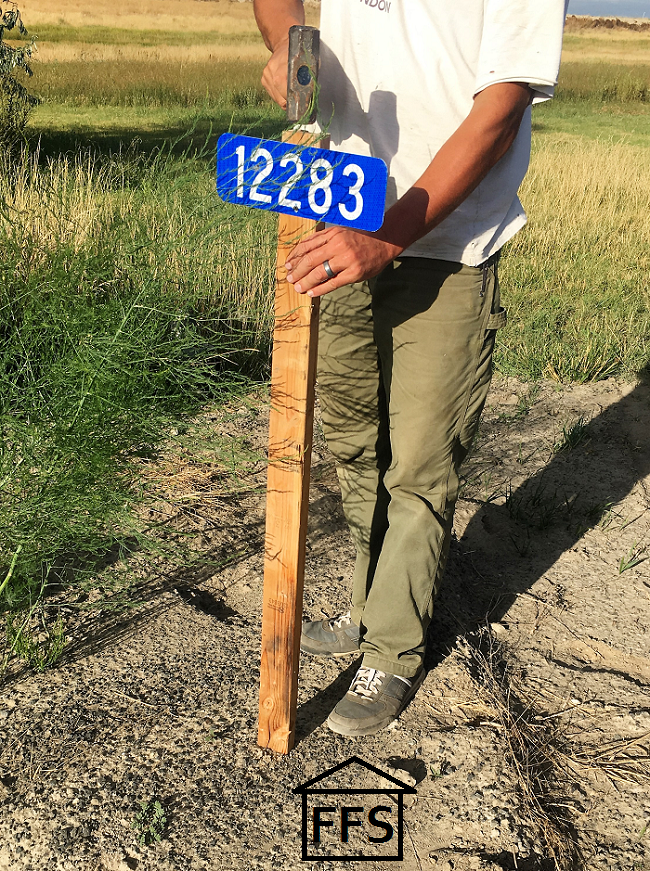
Next up was our address permit. When they issued us the permit, they mailed us our new shiny blue address sign. That was an exciting day! We finally had an address.
Our assignment was to put the address sign up. They sent a full page paper of instructions for putting up our sign. Don’t be scared by how much information they give you. It’s just telling you that it is a requirement, and where they want you to put up your sign. We were instructed to put the sign at the end of our driveway just off the road, and they wanted it parallel to the road.
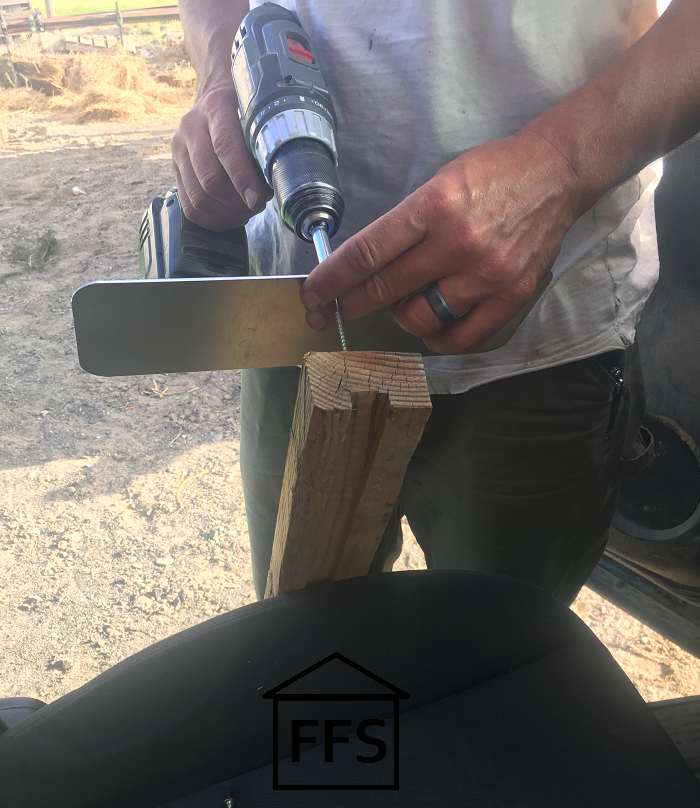
All we did was screw the blue sign to a scrap piece of wood that was about 3 feet tall.
 Then we pounded it down several inches so it would stand up against the wind. Eventually we will replace it for something a little more country than a shiny blue address marker.
Our third assignment was basically to review everything they gave us when they issued the permits so we knew what changes might need to happen. While the county looks at your blueprints, they make notes on them and highlight things. They highlighted spots that were not as reinforced as they wanted and then wrote what we needed to add to them. They highlighted the energy requirements we needed to comply with, and they gave us information for inspections. It’s our job to relay that to the sub contractors and to be aware of it ourselves.
For example, we had to change some things in our heating and air conditioning plans because of the energy requirements that were highlighted by the county. We needed to find a way to insulate the duct work or else move it into the house. We also needed to look at more energy efficient windows. The energy code has been one of the more difficult things to work with. We have had to make quite a few changes and order more expensive things to be efficient enough in our energy usage. I am sure it will save money and energy later on, but right now it’s a pain in my neck.
The last thing we needed to be aware of was exactly where we placed the house. We already had a “spot” for it, but we had requirements for the exact placement. We were required to be at least 60 feet from the center of the canal. We were also required to be at least 50 feet from the drain running through our property. We were definitely far enough away from the drain, but once we staked out our house, we had to double check the distance from the canal.
Our garage was the nearest point to the canal. We used a 100 foot measuring tape to check the distance. The corner of the garage sat 60 feet away from the edge of the canal road which was another 30-40 feet from the center of the canal. Check! We didn’t have to move anything.
Now we have complied with all requirements and assignments from the building permit process. Every house and every piece of property will be a little bit different, but I would bet most everyone will have assignments they have to complete similar to ours. Good luck!
Go back to Step 5: Building Permits
or
Move on to Step 7: Shopping for sub contractors
~Farmer’s Wife
FREE checklists and schedules
Access to the resources I created that helped Farmer and I save over $75,000 building our own custom dream home.
Leave a Reply